|
<< Click to Display Table of Contents > Background Camera |
  
|
|
<< Click to Display Table of Contents > Background Camera |
|
|
Check out our SAMLight Video Tutorial regarding the Background Camera: |
|---|
This chapters shows how to integrate the picture of an off-axis Background Camera to allow a comfortable job handling.
To be able to use the Background Camera of SAMLight, it is necessary to allow the camera access in windows.
Example for Windows 10:
Please open Windows → Settings → Privacy → App Permission → Camera:
Set "Camera access for this device is on" and set "Allow apps to access your camera" to on.
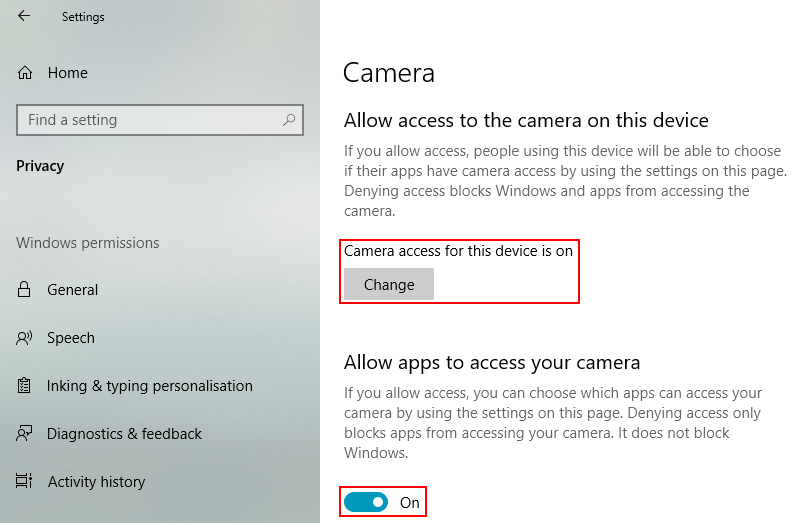
Figure 178: Camera access in Windows 10
For using the Backgound Camera in SAMLight a decent GPU and CPU are required.
Camera devices are supported through the UVC class driver and must be compatible with UVC 1.1.
Besides this, SamLight can also access cameras that provide a directshow capture device. Network cameras that do not provide this can be accessed via the virtual webcam feature of the Open Broadcaster Studio (https://obsproject.com/). For example, if your camera provides a rtsp stream: install and start the OBS program and then select “create new video vlc video source“ to access your camera, then click on “start virtual camera”. In SamLight you then select the “OBS Virtual Camera” as your camera device.
If the OBS internal virtual camera causes issues, the 'OBS Virtualcam' plugin can be used. Start VirtualCam in OBS and select 'directshow OBS-Camera' from the background camera dialog.
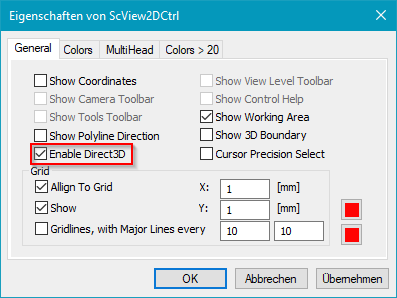
•To use the Background Camera tool, it is necessary to activate Direct3D. Activate Direct3D by right clicking the View2D to get the View Properties:
•To activate the camera itself, activate the checkbox in the Background Camera toolbar ![]() and open the "Background Camera Settings" dialog by clicking the camera symbol
and open the "Background Camera Settings" dialog by clicking the camera symbol ![]() :
:
(If the background camera toolbar is not visible, please activate the toolbar in Settings - System - View - Toolbars.)
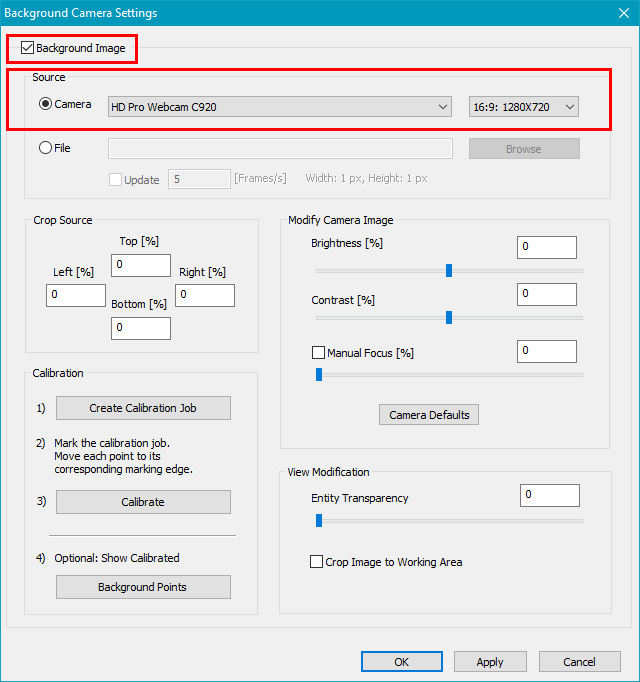 |
•The radio button „Camera“ activates the livestream of the camera
•The radio button “File” activates the “old” mode where you can select a saved picture from the hard disk for the background.
It is important to choose an aspect ratio (e.g. 4:3) and a resolution before doing the calibration. When changing aspect ratio or resolution, the calibration process needs to be repeated. With the resolution, the frame rate of the camera image changes. If you need „Crop Source“, please also choose this parameter before doing the calibration.
•The calibration of the Background Camera is done with the buttons under „Calibration“:

1) “Create Calibration Job”:
This creates a job in SAMLight which is for easy calibration of the camera image:
2) Marking of the calibration job:
The next step is to mark the job which was created before. To mark the job, please leave the current dialog and use the mark dialog.
Please make sure to use an appropriate marking speed to get an optimal marking result.
It is important not to move the work piece after having done the marking.
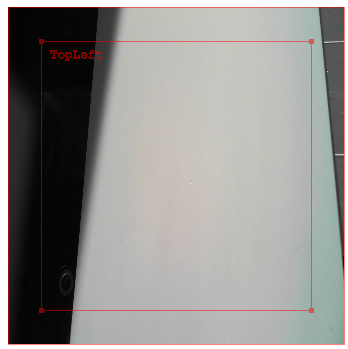
3) Calibrate:
Move the four points in the job to the edges of the marking result to correct the camera image.
It is important to mind the orientation (TopLeft) of the camera image.
By this procedure, it is possible to correct distortions such as tilts, expansion or rotation.
In the following picture, the marking result is rotated about 90° in respect to the camera image.
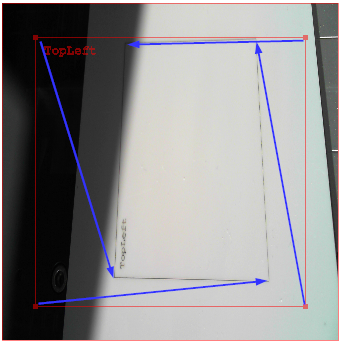
To guarantee the optimal calibration, use the zoom function of SAMLight to place the points carefully.
After having placed the points, calibration can be done.
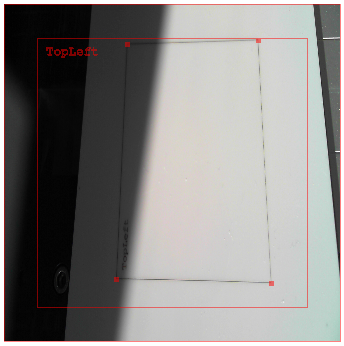
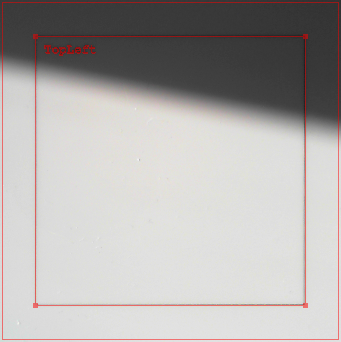
Press the button „Calibrate“ which will correct the camera image. Then, the marking result and the test job should superimpose:
In the picture below, the „TopLeft“ as well as the shadow in the background are now rotated about 90 degrees.
4) Show Calibrated Background Points:
This dialog shows the Calibrated Background Points.
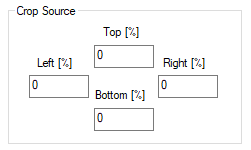
Crop Source:
Here, you can modify the image section.
It is necessary to do this selection before doing the calibration.
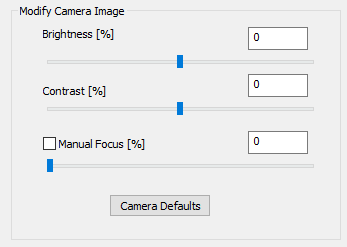
Modify Camera Image:
In this area, brightness and contrast can be changed, if default camera values are not satisfying.
The automatic focus of the camera could cause disturbing behavior during operation. By activating the manual focus its possible to set the focus of the camera to a fixed value.
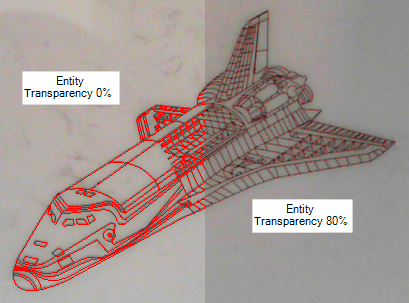
Entity View Modifikation:
If the calibration was successful, the entity in the View2D superimposes the marking result.
To increase the visibility of the marking result, the transparency of the entity can be adapted in SAMLight:
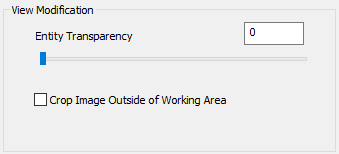
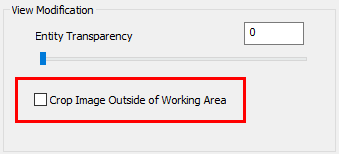
Crop Image Outside of the Working Area:
If the checkbox Crop "Image Outside of Working Area" is activated the View2D will only show the part of the camera image which is inside the working area.